Cheesecake in a jar wasn’t something I planned to fall in love with. One lazy Sunday afternoon, I was staring at leftover cream cheese and thought, “What can I whip up that’s easy but still feels special?” Making a full cheesecake felt like overkill. Then I remembered seeing a photo of cheesecake in a jar online — those cute, individual desserts that look bakery-worthy but are totally homemade.
I grabbed a mason jar, crushed some graham crackers, mixed a quick filling with cream cheese, sugar, and a splash of vanilla, and layered everything together. I topped it with fresh strawberries, popped it into the fridge, and an hour later, I had my first spoonful. Wow. The creamy filling, the crunchy graham base, the sweet fruit — every bite was heaven.
That day, cheesecake in a jar became my go-to treat. Whether it’s a dinner party, a picnic, or just an ordinary Tuesday, this dessert always feels fun and special. Plus, it’s endlessly customizable. Want a chocolate version? Swirl in some cocoa or Nutella. Craving citrus? Add lemon zest. Feeling extra fancy? Drizzle caramel on top and sprinkle with sea salt.
If you’re into jar recipes, you should check out my layered berry overnight oats or my mango chia pudding jars — they bring the same “wow” factor with minimal effort.
Table of Contents
Table of Contents
Simple Ingredients, Big Flavor

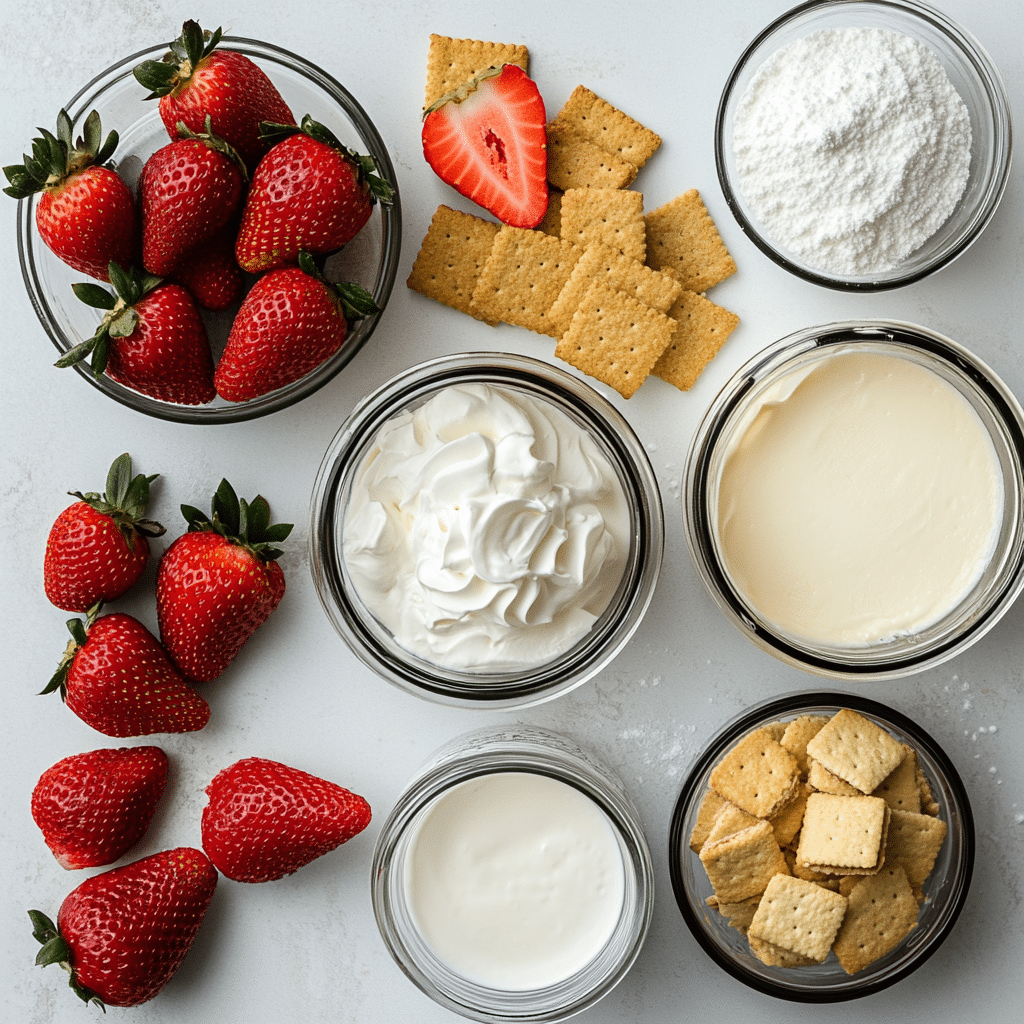
One of the best things about cheesecake in a jar is how simple the ingredient list is. Here’s a quick breakdown:
| Ingredient | Purpose |
|---|---|
| Graham crackers | Crunchy base layer |
| Butter | Binds the crust |
| Cream cheese | The creamy, tangy star |
| Sugar (powdered) | Adds sweetness |
| Heavy cream | Makes the filling light |
| Vanilla extract | Boosts the flavor |
| Toppings (fruit, jam, chocolate) | Fun, customizable finish |
You can make cheesecake in a jar truly your own. Swap the graham crackers for Oreos, mix in lemon curd, or top with tropical fruits like mango and passionfruit. There’s no wrong way to make it — that’s what keeps me coming back to this dessert over and over again.
Creative Flavors and Layering Techniques for Cheesecake in a Jar
Fun Flavor Combinations You’ll Love
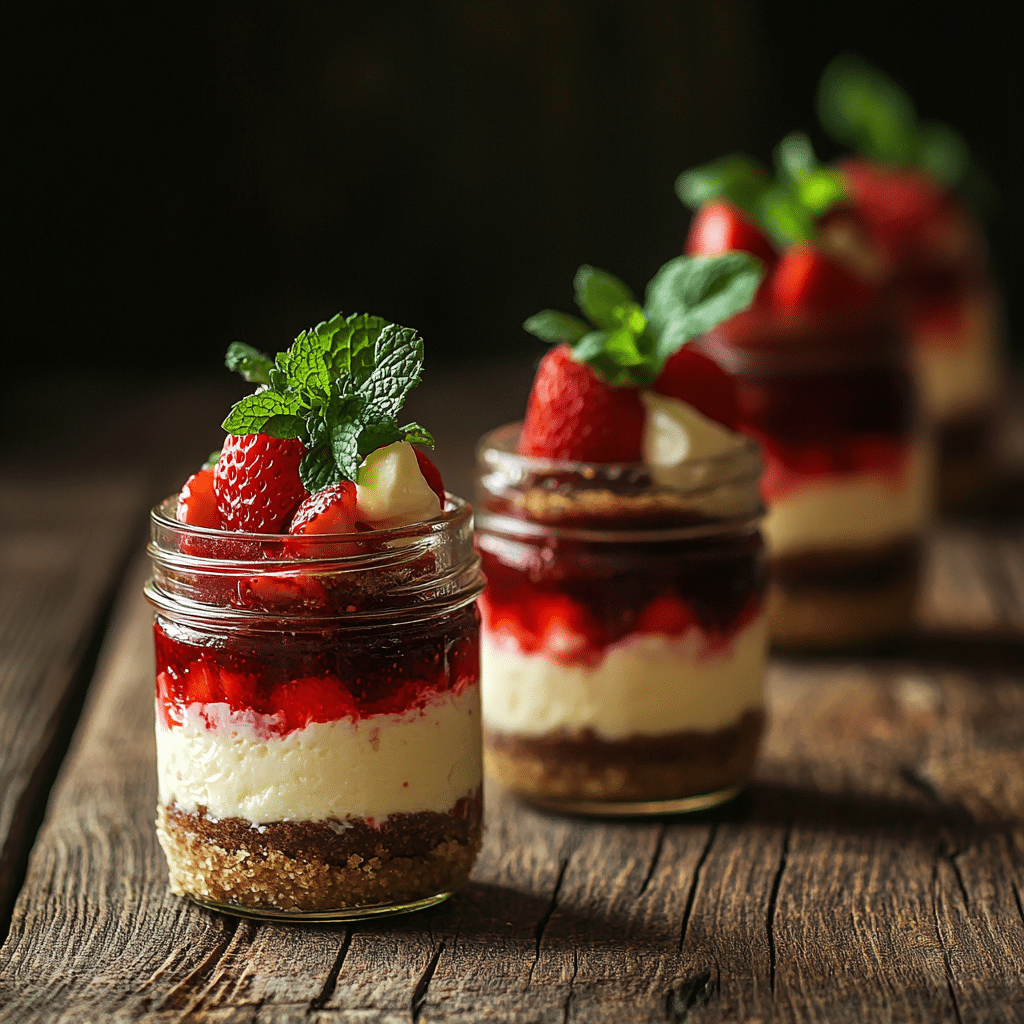
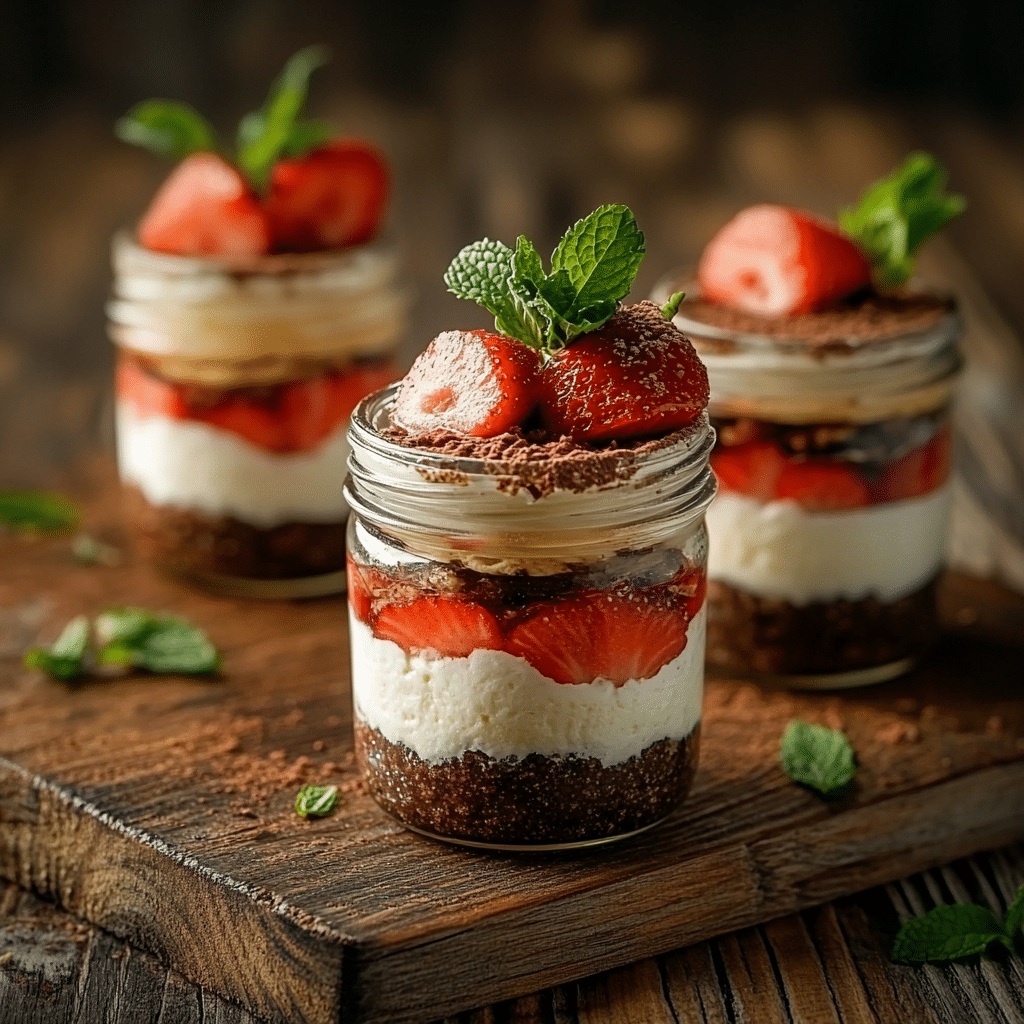
One of the reasons I keep making cheesecake in a jar is because the flavor combos are endless. You can start with the classic — creamy vanilla filling, graham cracker crust, and fresh strawberry topping — but why stop there? One of my favorites is a chocolate lover’s dream: Oreo crumbs instead of graham crackers, chocolate cheesecake filling (just add a bit of melted chocolate to the mix), and a drizzle of hot fudge on top. It’s rich, indulgent, and guaranteed to satisfy any sweet tooth.
For a fruity twist, I love making a tropical cheesecake in a jar. Think crushed digestive biscuits, creamy filling spiked with a hint of lime zest, and a bright mango or passionfruit topping. The tangy, tropical flavors are so refreshing, especially in summer. You can even mix in bits of fruit directly into the filling for a fun texture.
If you’re into creative jar recipes, check out my chocolate chia jars or these mango overnight oats — they show just how versatile jars can be for breakfast or dessert.
Tips for Beautiful Layering
Now, let’s talk about layering because cheesecake in a jar isn’t just about taste — it’s about presentation too. Start with the crust: press a layer of crushed cookies or crackers mixed with melted butter firmly into the bottom of the jar. Next, spoon or pipe in the cheesecake filling. I like to use a piping bag or a zip-top bag with the corner snipped off for a cleaner look — it gives you those perfect, even layers.
Then comes the topping. This is where you can get creative: fresh berries, fruit compotes, chocolate sauce, caramel drizzle, crushed nuts, or even cookie crumbs. A little garnish on top, like a mint sprig or a few chocolate shavings, makes your cheesecake in a jar look extra special. Trust me, people’s eyes light up when they see these pretty jars lined up on the dessert table.
Remember, you can easily adjust the portion sizes by using smaller or larger jars depending on the occasion. For parties, I like to use mini jars for a bite-sized treat, but for a cozy night in, a bigger jar is just perfect.
Make-Ahead Tips and Storage Tricks for Cheesecake in a Jar

How to Prep Cheesecake in a Jar Ahead of Time
Here’s one of the best things about cheesecake in a jar: it’s a make-ahead dream. When I know I’ve got a busy week or an upcoming event, I love preparing a batch of these ahead of time. Just layer the crust and filling in your jars, cover them tightly, and pop them in the fridge. They’ll stay fresh and delicious for up to 3–4 days.
If you’re making cheesecake in a jar for a party or gathering, you can prep them the night before and add the toppings right before serving. This keeps things like fresh fruit or crunchy nuts from getting soggy. I can’t tell you how many times having these jars ready has saved me from last-minute dessert panic — they’re always a crowd-pleaser.
For more fun meal-prep jar ideas, check out my berry overnight oats layered jars or mango chia pudding jars — both are super handy for busy mornings or quick snacks.
Best Storage Practices and Freezing Tips
When it comes to storing cheesecake in a jar, a few simple tips go a long way. Always use jars with tight-fitting lids to keep the dessert fresh and prevent fridge odors from sneaking in. If you’re using fruit toppings, especially anything juicy, I recommend adding them just before serving to keep the layers looking neat and tasting fresh.
Want to freeze them? Good news — cheesecake in a jar freezes well! Just skip the toppings, seal the jars tightly, and freeze for up to two months. When you’re ready to enjoy, thaw them in the fridge overnight and then add your favorite toppings before serving. This makes them a fantastic option for holiday prep or when you want to have a little stash of sweet treats ready to go.
One tip I’ve learned: label your jars with the date before freezing so you can keep track of how long they’ve been stored. Trust me, once you start freezing these, you’ll love having a stash of ready-made desserts waiting for you.
One of the reasons I keep making cheesecake in a jar is because the flavor combos are endless. You can start with the classic — creamy vanilla filling, or get creative with fun flavor combinations you’ll love. If you’re using fruit toppings, especially anything juicy, I recommend adding them just before serving to keep the layers looking neat and tasting fresh. Want to freeze them? Good news — cheesecake in a jar freezes well! Just skip the toppings, seal the jars tightly, and freeze for up to two months. When you’re ready to enjoy, thaw them in the fridge overnight and then add your favorite toppings before serving. This makes them a fantastic option for holiday prep or when you want to have a little stash of sweet treats ready to go. One tip I’ve learned: label your jars with the date before freezing so you can keep track of how long they’ve been stored. Trust me, once you start freezing these, you’ll love having a stash of ready-made desserts waiting for you.
At this point, I think it’s clear — cheesecake in a jar isn’t just a dessert; it’s an experience. It’s the kind of thing that feels special but doesn’t stress you out in the kitchen. It’s simple enough for a weeknight treat, cute enough for a bridal shower, and tasty enough that people always ask, “Can I have the recipe?”
Whether you keep it classic with graham cracker crust and berries or experiment with peanut butter, tropical fruits, or even matcha, you can always count on cheesecake in a jar to deliver.
Try it once, and I promise — your fridge might start filling up with little jars, too.
Discover more delicious recipes — follow me on Facebook & Pinterest
Frequently Asked Questions About Cheesecake in a Jar
How do you make a jar of cheesecake?
Start with a base of crushed graham crackers mixed with melted butter. Press that into the bottom of a clean jar. In a bowl, beat softened cream cheese with powdered sugar, vanilla, and a bit of whipped heavy cream until it’s smooth and fluffy. Spoon or pipe the filling over the crust, then add your topping of choice — fruit compote, chocolate sauce, or crushed cookies work great. Chill for at least an hour before serving.
How to make mini cheesecakes in a jar?
The process is the same as a full-size jar, but you’ll use smaller jars — 4 oz ones work beautifully for bite-sized servings. These mini cheesecake in a jar desserts are perfect for parties or events. Just layer a smaller amount of crust, a few spoonfuls of filling, and a touch of topping. Keep them chilled until ready to serve.
What is cheesecake in a jar?
Cheesecake in a jar is a no-bake (or sometimes baked) dessert that takes all the creamy goodness of traditional cheesecake and layers it into a jar. It usually includes a cookie crumb base, a sweet cream cheese filling, and a flavorful topping. It’s portable, portion-controlled, and easy to customize — which is why it’s become so popular for both home cooks and food bloggers.
Can I bake in a canning jar?
Technically, yes — but it comes with risks. Canning jars weren’t originally designed to withstand direct oven heat, and they can crack or break if not handled carefully. If you do want to bake cheesecake in a jar, make sure to use jars specifically marked as oven-safe and avoid sudden temperature changes. For safety and simplicity, most people stick with no-bake versions.

